The first dip is a small magic trick. You lower a piece of cotton into a bucket of murky yellow-green liquor, lift it out, and watch it turn blue in the air. Green first, then a blue that keeps deepening for a quarter of an hour. Nothing else in dyeing behaves quite like it.
Indigo also rewards preparation more than almost any other dye. Set your bench up properly, keep the fibre wet, resist the urge to stir, and your first session will produce something you actually want to use. Work through the list below before you mix anything.
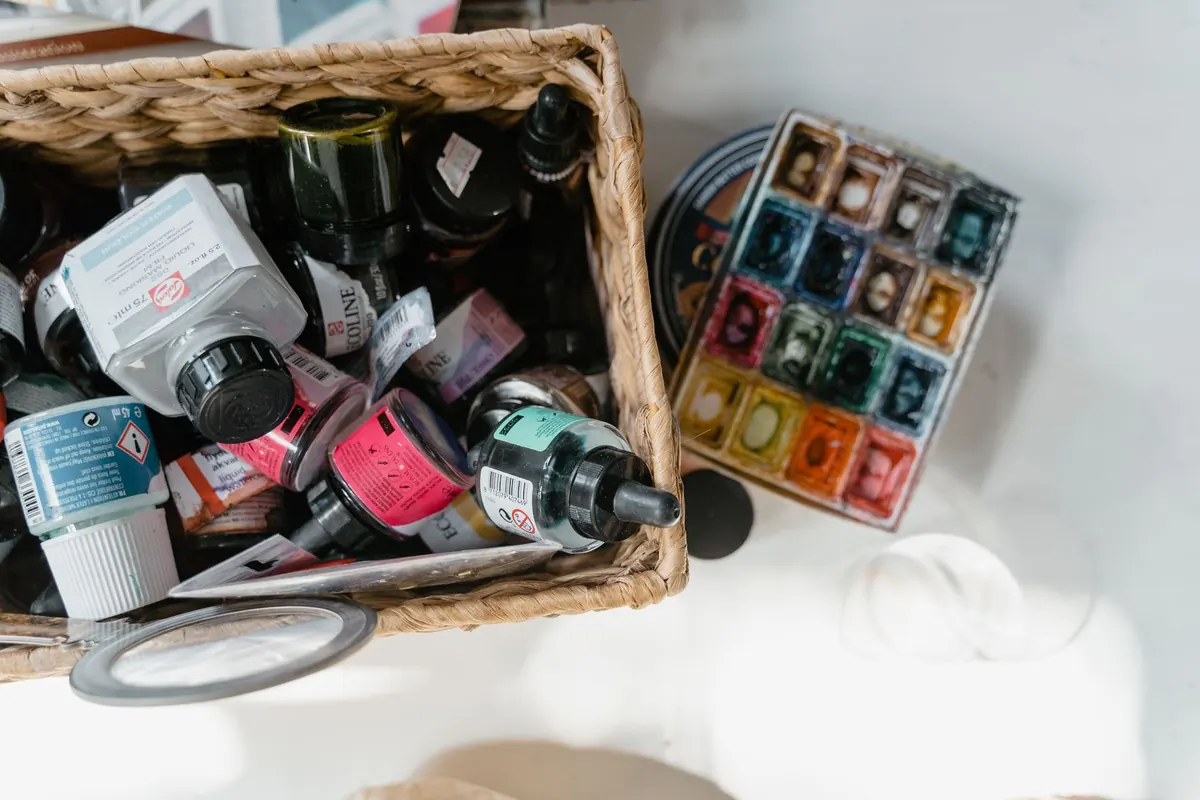
You can spend a fortune on indigo kit. You don't need to. For a first session, this is plenty:
Gloves are not optional. Indigo stains skin, and it settles under fingernails where it stays for days. Nitrile gloves work; long rubber gauntlets are better if you're dipping something big. Add eye protection and a dust mask for when you're measuring out powders, and wear an apron and shoes you don't care about.
Ventilation matters as much as the gloves. Work near an open window, in a garage with the door up, or outside under cover on a still day.
Some vat recipes use caustic soda, which burns skin and eyes on contact, and reducing agents that shouldn't be inhaled or mixed with acids. Read the instructions that came with your kit and follow them exactly. Keep a jug of clean water within reach for rinsing splashes, keep chemicals in labelled containers out of reach of children and pets, and never guess at quantities. If you'd rather not handle caustic materials at all, a pre-reduced kit or a fructose vat is the gentler route in. If you're unsure about any part of the chemistry, ask your supplier before you start.
Choose a spot with a hard floor and water nearby: a utility room, a garage, or a covered outdoor space on a calm day. Indigo splashes travel further than you expect, so put down a plastic sheet or an old shower curtain before anything else comes out of the cupboard.
Split the area into wet and dry zones. The vat, rinse bucket and dripping cloth live on one side. Your notebook, phone and clean cloth stay on the other, well out of range.
Position the vat so you can stand comfortably above it. You want to lower fabric in vertically and lift it out slowly, not fish around at arm's length. Put the rinse bucket beside the vat and the hanging line within a few steps, so you're not carrying dripping cloth through the house.
Finally, lid the vat between dips. An open vat loses its reducing power and grows a skin you'll have to skim off later.
New fabric carries sizing, oils and dust that block dye. Wash it hot with a little washing-up liquid or soda ash, then rinse thoroughly. Wool and silk need a gentler wash at a lower temperature with no sudden changes — agitation felts wool — so follow the care guidance for the fibre you're using.
Soak everything in plain water for at least twenty minutes. A dry cloth drags air into the vat, which oxidises it, and it takes colour unevenly. Squeeze out the excess so the cloth is damp rather than dripping.
Rubber bands, string, clothes pegs, folds, clamped shapes — whatever you have. Tie them before you soak if you can, because wet fabric is slippery and fiddly to work with.
Remember that wet colour always looks darker than dry. Judge the shade after the cloth has dried, not while it's hanging.
Rinse in cool water until it runs fairly clear, then wash with a pH-neutral soap or a drop of washing-up liquid. Dry in the shade, since strong sun can fade the surface. Expect a little colour to rub off for the first wash or two — that's excess indigo sitting on
Photo: MART PRODUCTION / Pexels